Introduction
Tinkercad is a free and easy-to-use web app that equips the next generation of designers and engineers with the foundational skills for innovation: 3D design, electronics, and coding. I have never used this program before Hannah Feldman introduced us to the TinkerCAD in one of the session this Semester 2, where we have to draw a 3D model to show the Great Barrier Reef (GBR) ecosystem before and after the coral bleach as a result of the climate change impact on the ecosystem.
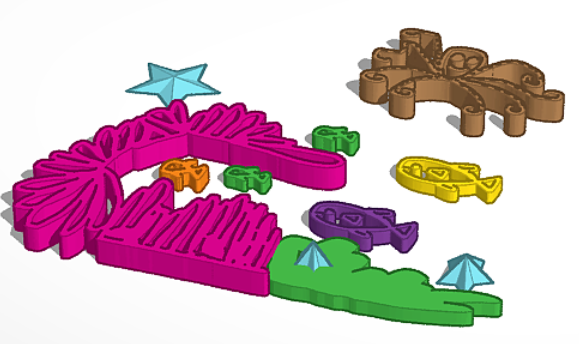
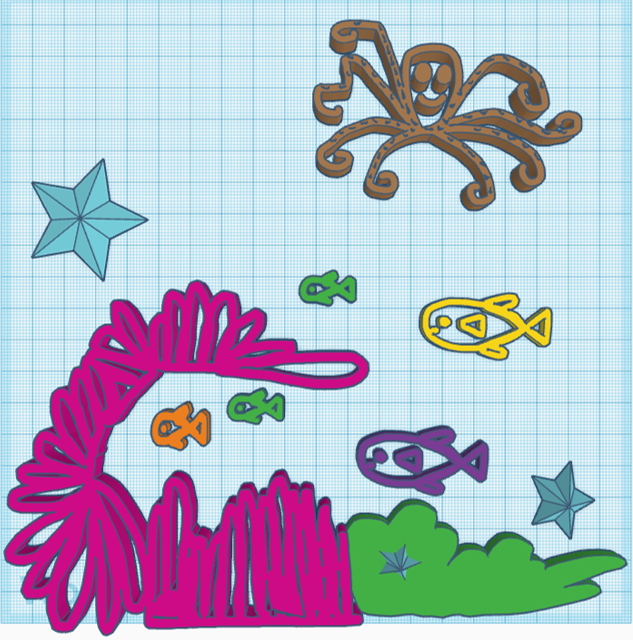
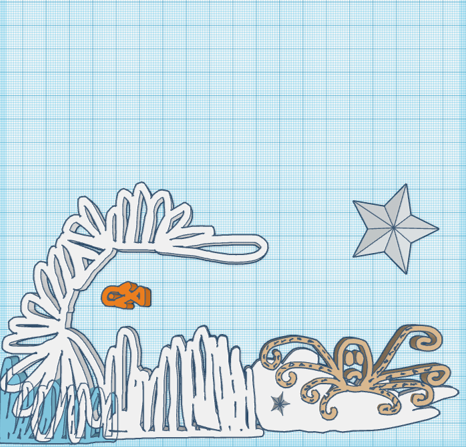
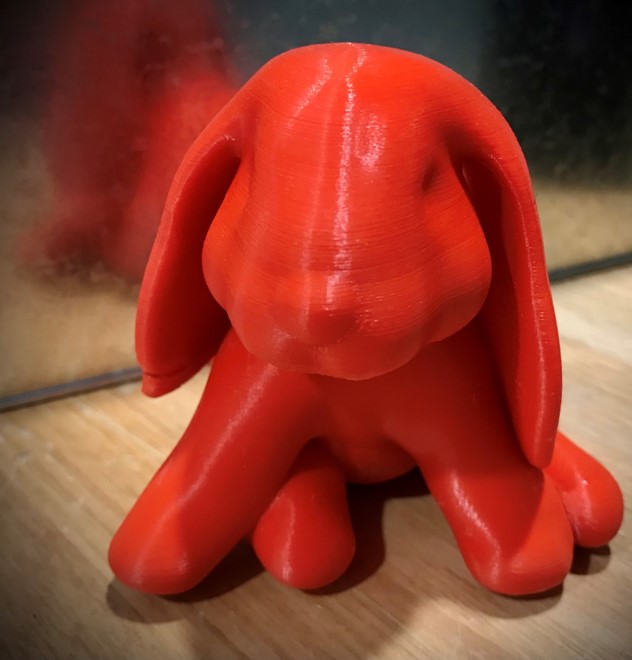
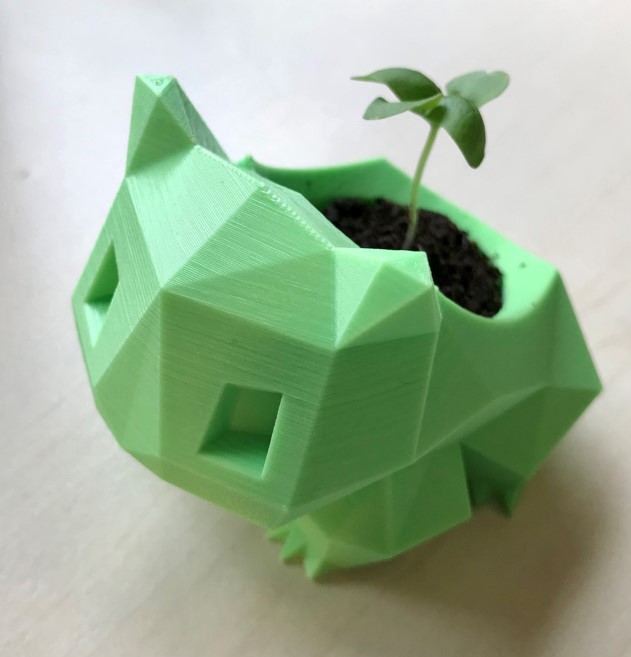
I loved it so much that I wanted to learn and use this program/tool more to create some models for my CPS Project and other things in future. This year I learned how to use the 3D printer for the first time, and it will be amazing if I can create my own 3D models to print for prototype something, in the short term will be for my CPS Project group (SMARC) and in the long term for my personal interest especially for my children learning journey.
Motivation & Learning Goal
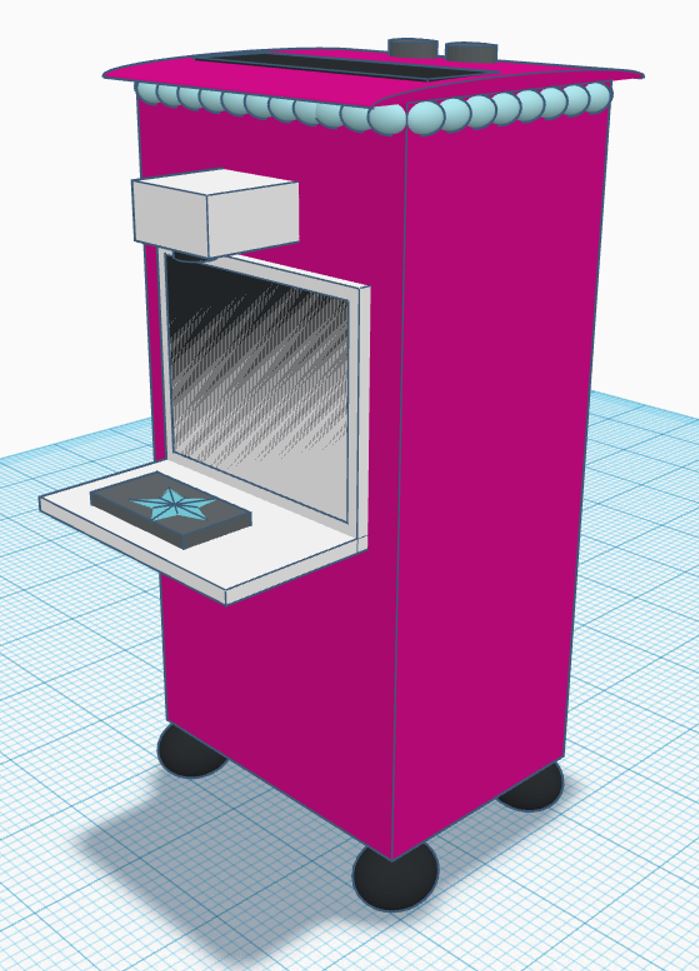
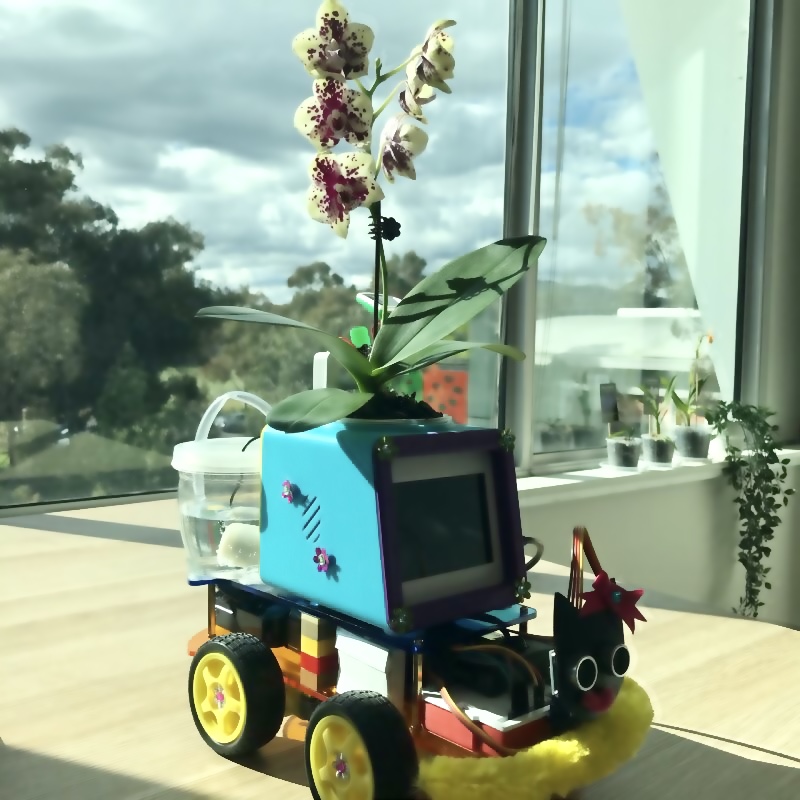
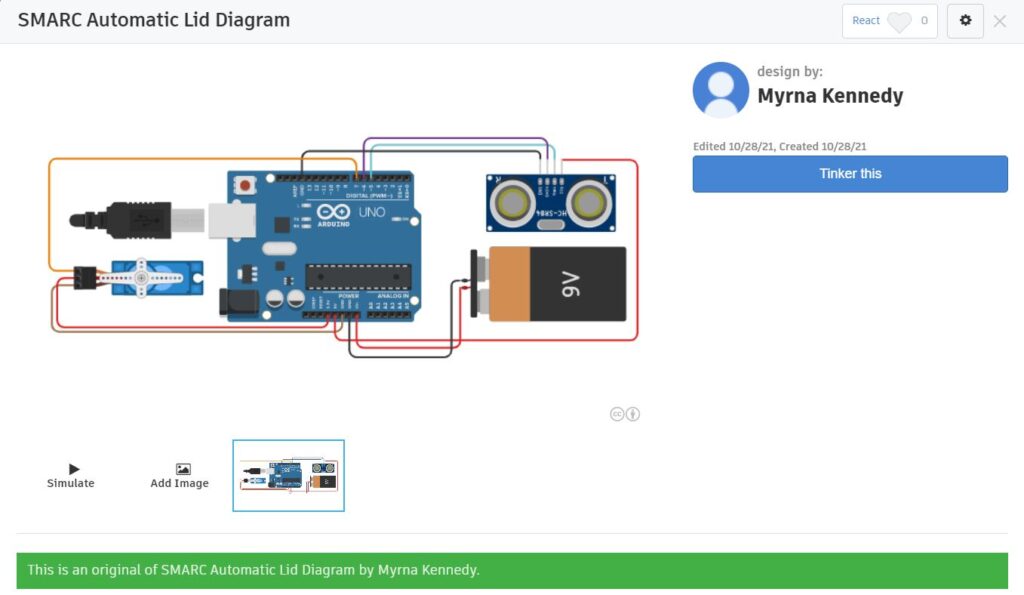
My motivation to learn TinkerCAD this year is because I want to be able to create my own 3D model/prototype to print. I would like to understand how to design, shape, colour, resize, etc to create a 3D model or electronic circuits. My learning goal for Semester 2, is to be comfortable using TinkerCAD to create a 3D model and electronic circuit diagram to illustrate my CPS Group Project (SMARC) as shown on the diagram below.
Process
After following this step by step tutorials/lessons in TinkerCAD to learn how to Moving, Rotating and Scaling Objects, I try to test my new skill by creating the 3D version of SMARC and I was so happy with it. Here are some pictures of the SMARC in 3D model that I created using TinkerCAD.


Skill Level
| Previous Skill Level | Current Skill Level | Desired Skill Level |
| N/A | Advance Beginner | Competent |
Overall, based on the Dreyfus Model of Skill Acquisition, I would categorise my current Skill Level on TinkerCAD as Advance Beginner level now, moving from Novice level having zero experience before Semester 2. I know that the best way to improve for me is to continue and practice by creating more 3D models and circuit diagrams for all my future projects. I’m planning to do more tutorials in TinkerCAD or even continue to the more complex program such as Fusion360.
Reflection
From the first moment I used TinkerCAD, I knew that I would enjoy playing with the software as I like to create things, and after the experience in 3D printing items on Semester 1, I wanted to make my 3D model. I had so much fun creating the 3D picture of the Great Barrier Reef, and 3D version of the SMARC prototype and the electronic diagram for the SMARC lid using TinkerCAD. I wish we could access Maker Space, where I could test and print out my 3D creation. I definitely will tinker more and create many things that I could give as a present for my friends and family if I have my own 3D printer. I believe this 3D creation skill will be a special skill to have, and I hope to continue to practicing and tinkering with more models and maybe prototype for my futuristic sci-fi bot. Overall, it has been a valuable skill to learn and made me think about how to create a practical model that can be used to enhance the learning experience, especially for children.
Acknowledgement
- Hannah Feldman for introducing the TinkerCAD.
- Jake, Erika and Sarah for being the awesome team that inspired me to create the Great Barrier Reef ecosystem 3D model.
- Indian LifeHacker channel on YouTube for the tutorial for the smart bin sensor.
