The Components/Parts
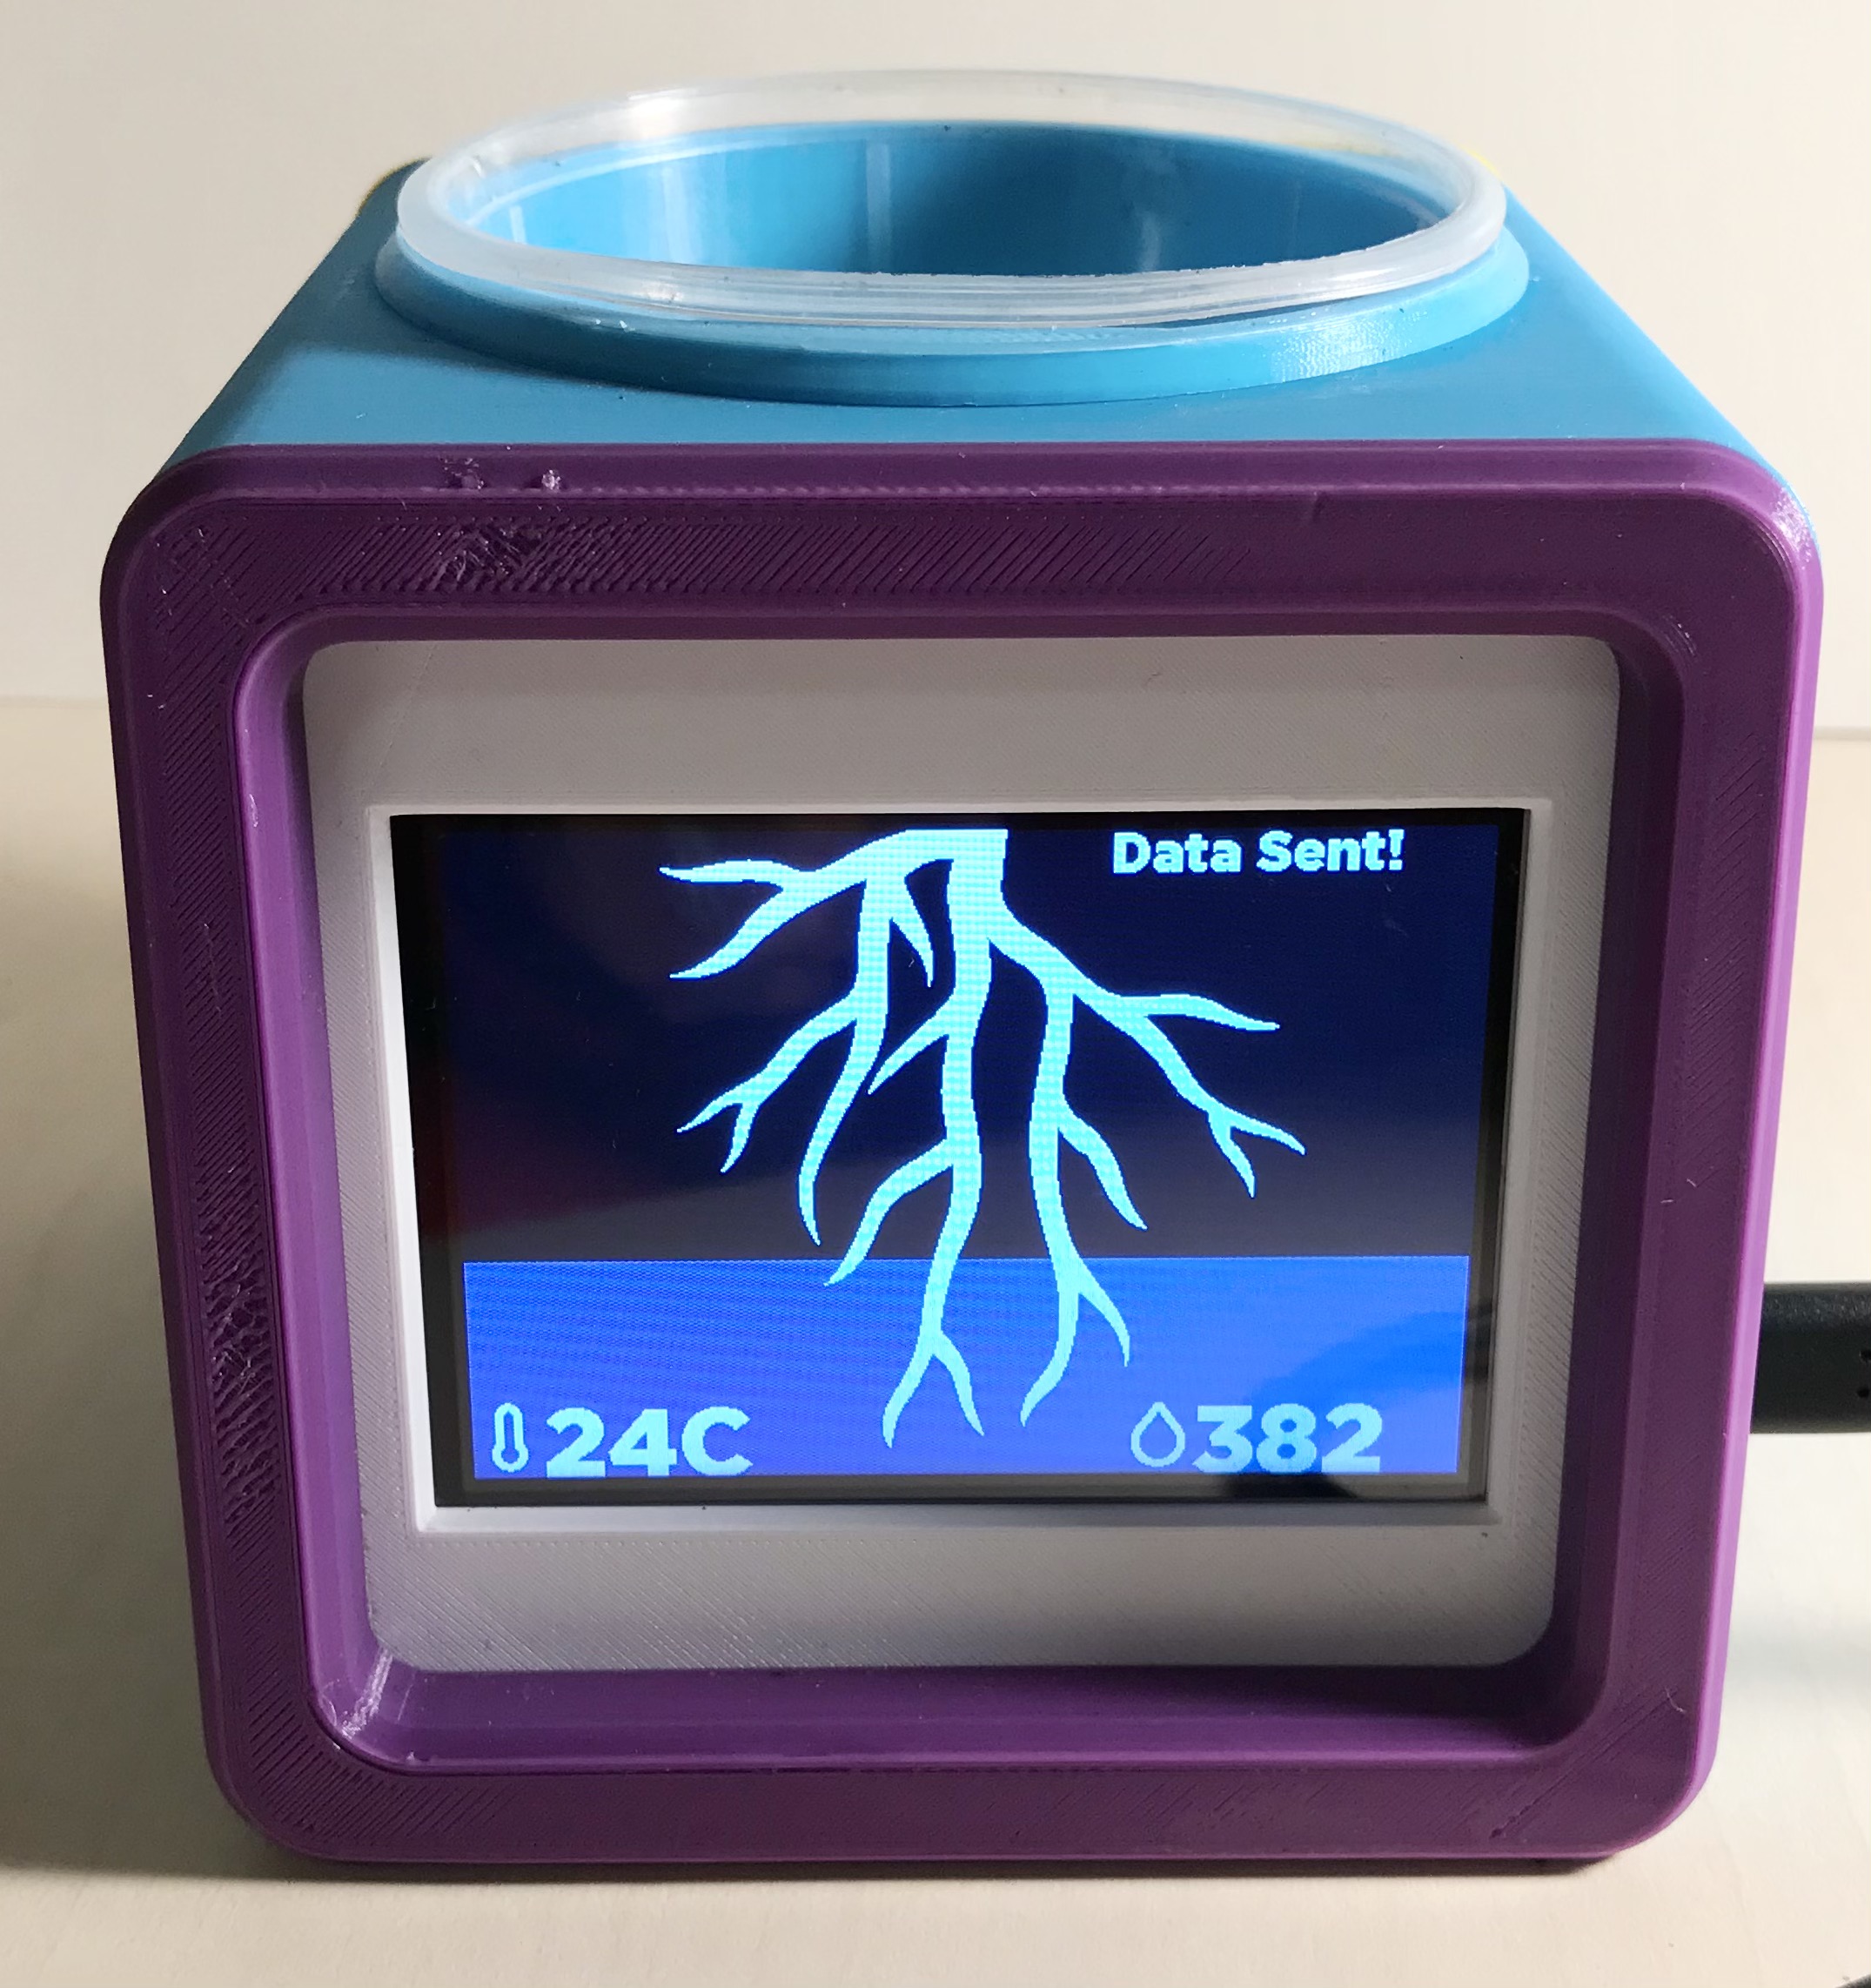
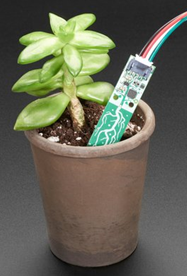
The first part is the Pot. These are the tools and parts that I used for the Pot. They are from the Adafruit project called: PyPortal Pet Planter with Adafruit IO. I selected this design because I thought it would help me solve the first issue, which is monitoring the soil moisture level and temperature. Jake helped me with this idea in particular.
Another reason is that it’s using something different and new that I never used before: the Py Portal Titano and STEMMA Soil Sensor, rather than using the devices already introduced in class, for example, Circuit Playground Express and Raspberry Pi. Because this year, I want to learn so many new things, given I don’t have any background in IT at all, so there is a lot of steep learning curve for me this year!
The first challenge is how and where to buy those parts. Is it within the budget allocated? Adafruit is based in America, and it will take a long time for the delivery if I order online from them. So, I shop around for local supplier in Australia, and I found Core Electronic, which is based in NSW. Because the total cost is almost $200, I have to get permission from the Build course convenor. Luckily, he approved my request because there’s nothing similar that is available in the studio.
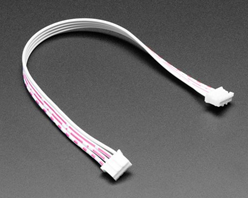
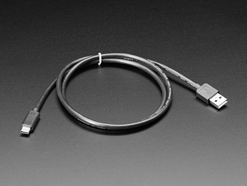
Below are the tools and parts that I use to make the pot and please click on the description link for more details on each component:

The Process
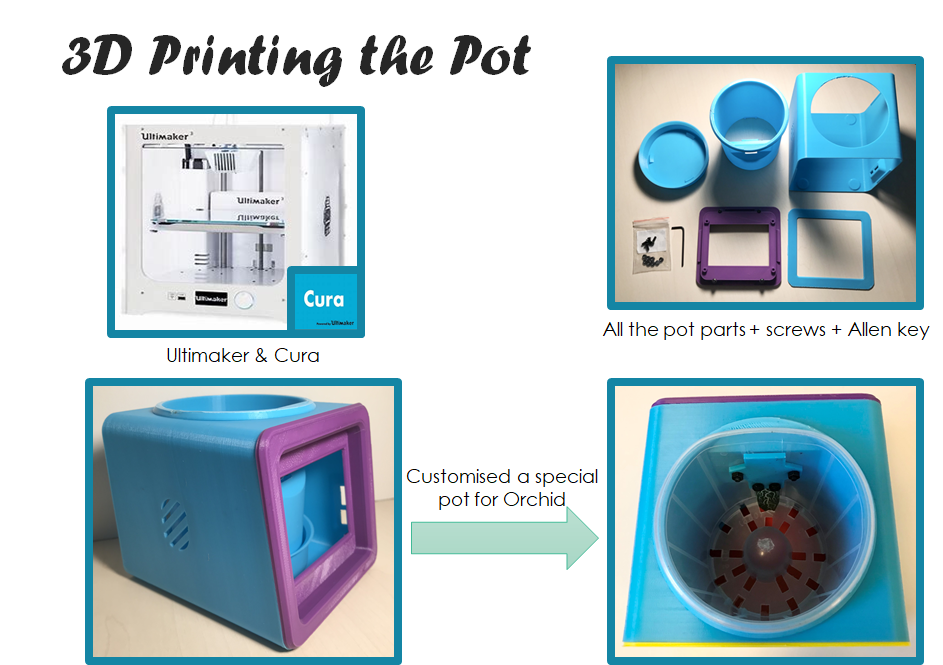
I followed step by step in this Adafruit project tutorial: PyPortal Pet Planter with Adafruit IO. While waiting for the delivery to arrive, I have to learn how to use a 3D printer machine to print my Pot. Because the design is particular to fit all the components, I can’t just use the standard pots from the shop. Fortunately, ANU has the Maker Space where all the students can learn how to make things, and they have the 3D printer machine with wonderful staffs who are very patient in helping me. I used the 3D template from Thingyverse and it took me few days to print all the parts due to the availability of the machines to use because it’s so popular and the time it took to print each element (5-10 hours).
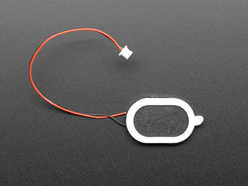
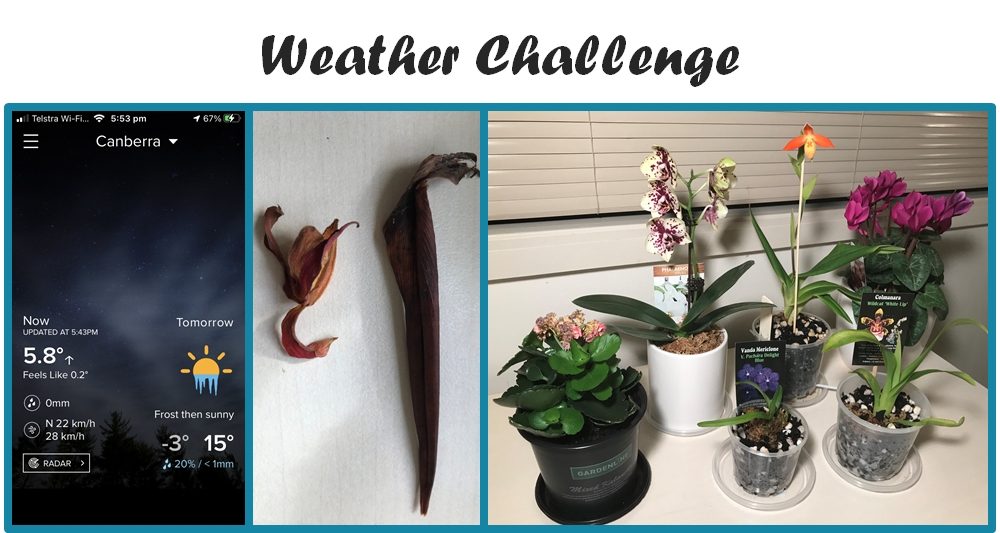
Then I face another challenge because the plant that I choose to use is orchid, and orchid is different from other plants because it needs to dry out in between watering. The root cannot be soaked in water at all, or else it will die. Unfortunately, the Pot that I just printed didn’t have any holes for the water drainage at all. So to overcome this challenge, I insert the plastic Pot that has lots of holes, as shown on the bottom right picture, but I still need to modify and cut some part of the plastic Pot to attach the soil sensor and the screws.
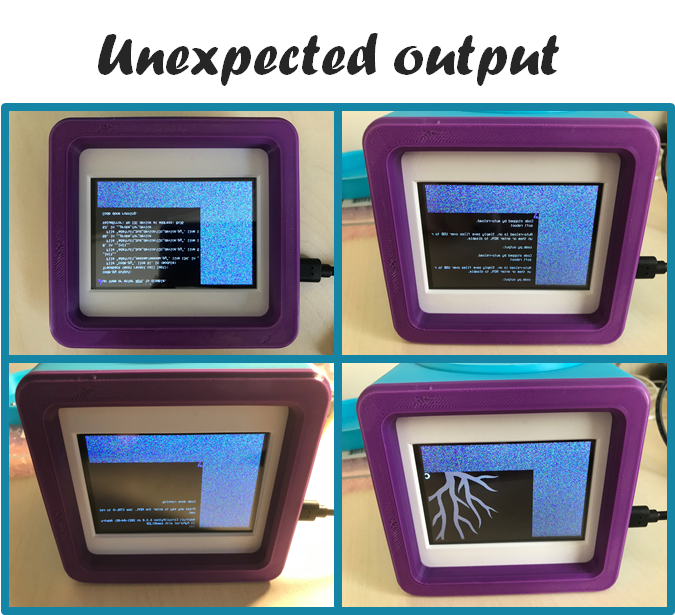
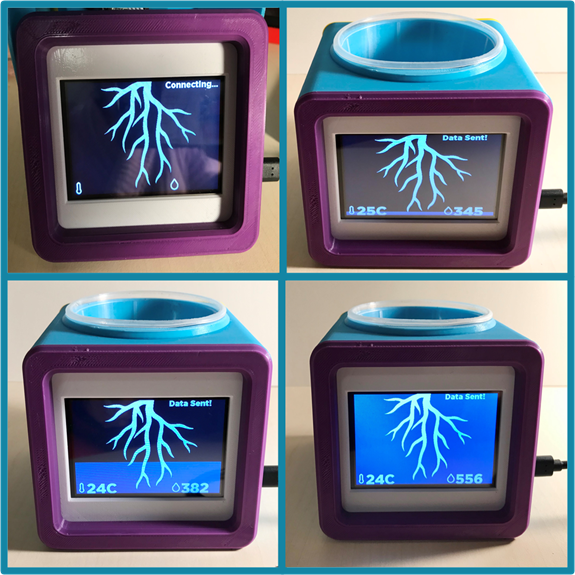
After my order finally arrived, I tried to set them up, and it was okay for the first time, but then something weird happens few days before the peer review presentation is due. I had some display issues where the screen is somehow reduced to 75% With Inverted and Mirrored Text. I ask all the tutors in the studio, and no one really knows how to fix this because they never use PyPortal Titano before. So, I asked for some help from the Core Electronics team, where I bought the device using their online forum. They gave me some examples of how other people who faced similar issues as shown on this link: Core Electronics Forum Discussion. I also asked the Build teaching staff, Johan, Mina, Zac and Matthew to help me with this issue, but they never used this device before. Then I tried to follow the step by step that other people did to solve the screen issue, but none of them fixes mine, unfortunately. So I thought the best IT advice I have based on the IT Crowd TV series is “Have you tried to turn off and turn it back on again?” I reset and erase everything and then start again by following and installing the latest Circuit Python, and then it works!!! After all those troubles, the solution is so simple: RESTART, silly me.
I also have another challenge to connect the PyPortal Titano to the network internet. I tried my wifi in college and studio but couldn’t recognise the SSID and password. So I tried my personal hotspot using my mobile phone, and it works; yay!
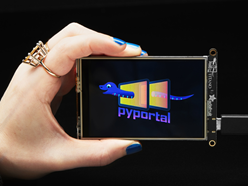
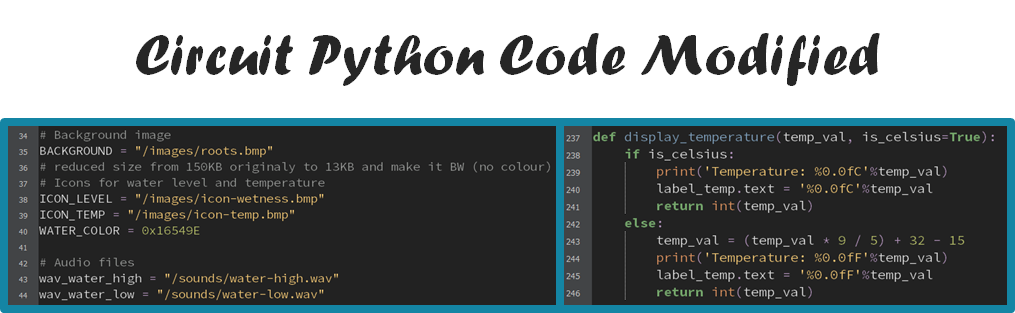
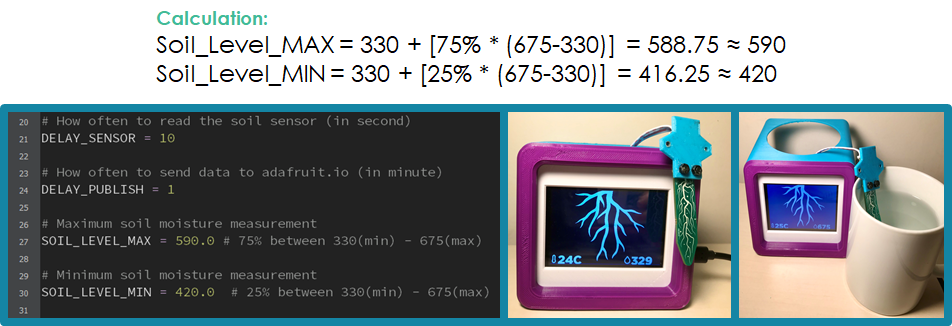
Now to the coding challenge, Matthew helped me reduce the RAM in my PyPortal Titano by reducing the root picture’s size using GNU and resizing the sound file using Audacity audio editor software. I also need to convert the temperature to Celsius from Fahrenheit because we’re in Australia. I then calibrate the max and min level for the soil based on the optimum condition for my orchid, which is 25% for the minimum level and 75% for the maximum level, by testing with an empty Pot in air and Pot filled with water. Speaker was vibrating on the Pot, so Zac helped me with the speaker adjustment for a smoother sound using the hot glue gun to secure the speaker onto the pot.
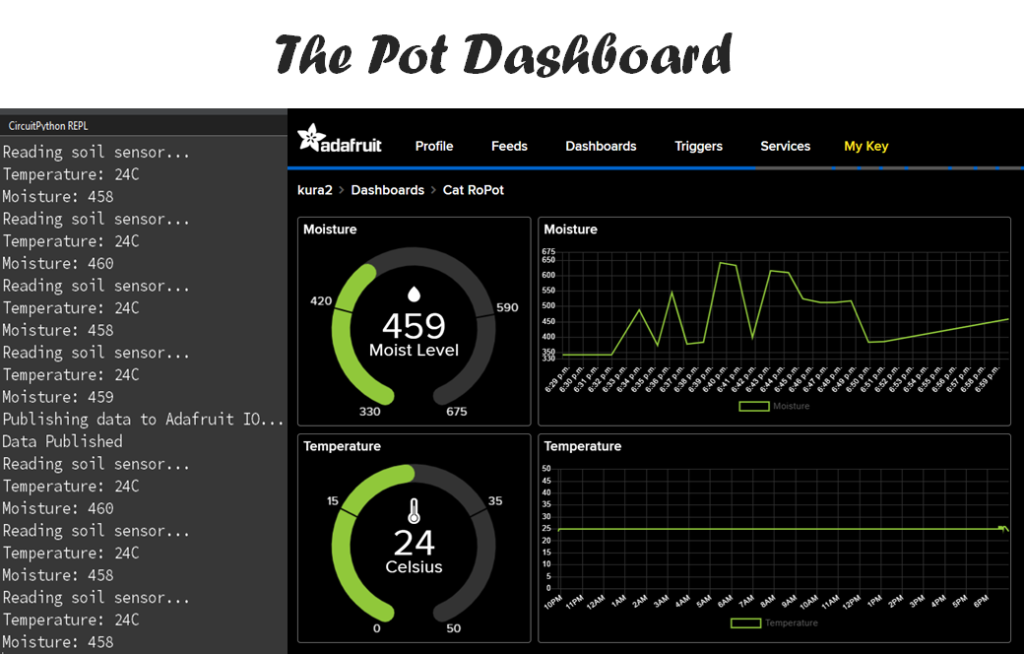
And here is the dashboard that I created in Adafruit IO. On this cloud-based platform, I can customise and access it anywhere with the internet to monitor my orchid’s moisture level and temperature.
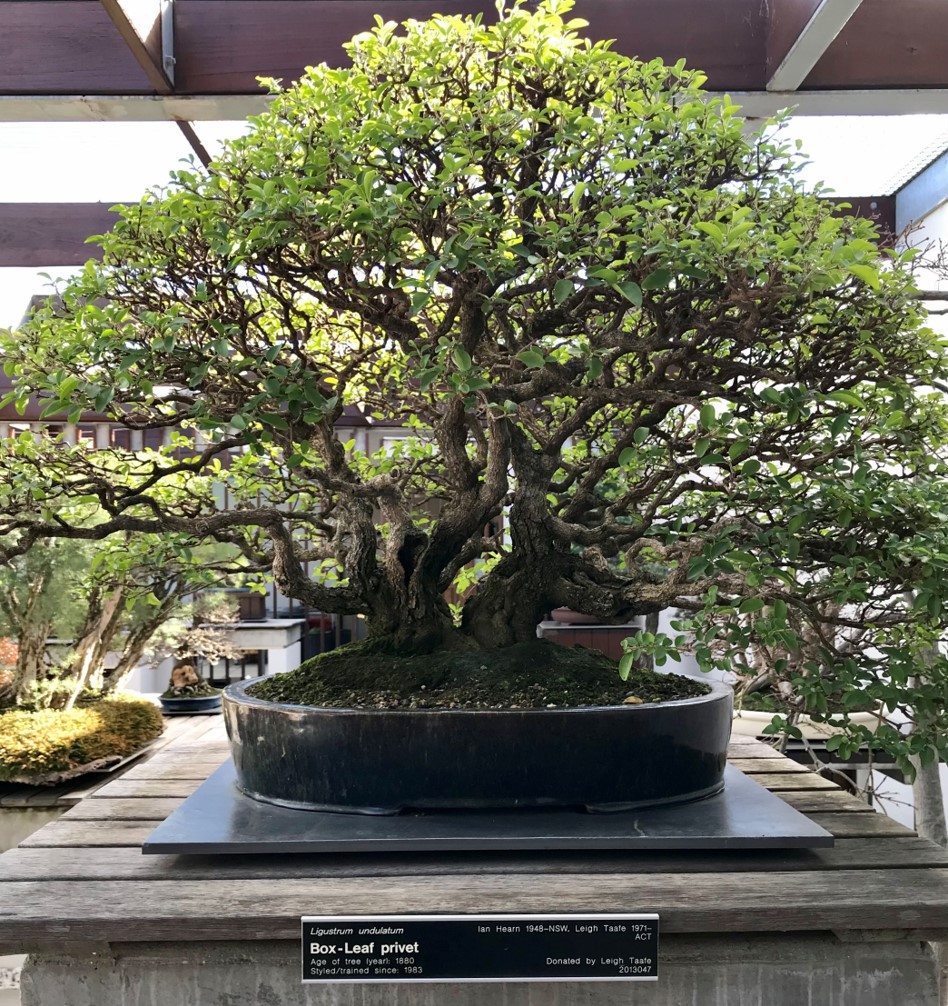
And here is the final pot interface, which shows the temperature and moisture level up and down with the humidity, also when it sent the data to the dashboard, which I set every minute for testing purpose.
Just when I thought it’s all good and under control, I had another challenge that I didn’t anticipate before: Canberra winter weather. It’s too cold for my orchid, which causes the flower to drop and the leave turns to brown. To overcome this challenge, I have to buy more orchids from Bunnings and other plants as backups to have the plant for the Demo Day, and I keep the heater in my room all day to make sure the orchid is staying warm.
You can find the final codes that I used for this pot on this link: The Pot Codes
Overall, making this pot was a great experience and learning progress for my circuits and more coding in Python skills using a new device that I’ve never used before, PyPortal Titano. I believe through these many failures and successes in troubleshooting making this Cyber-Physical System prototype (smart pot plant) with sensors, actuators, interface, WIFI connection, I have progressed my level from Novice to Advance Beginner/Competent. I’m looking forward to more experiments in building CPS for the rest of this year.